How to build a trade plan: setups, stops, size and limits
On this page
- What a trade plan is, and what it is not
- Part 1: What you trade and on which time frame
- Part 2: The setup and the entry trigger, written as checks
- Part 3: Invalidation and the stop-loss
- Part 4: Risk per trade and position size
- Part 5: Targets, exits and risk-reward
- Part 6: Limits that protect the account
- Part 7: Journal and review
- A one-page template
- Common mistakes
- Sources and further reading
A trade plan is a short written document that answers, before you click anything, what you trade, when you enter, where you are wrong, how much you can lose and how you will review the result. It will not make a strategy profitable. What it does is make your decisions consistent enough to measure, which is the only way to find out whether you have an edge at all.
What a trade plan is, and what it is not
Think of the plan as the rules you agree with yourself while you are calm, so that you do not have to invent them while a position is moving against you. It covers the setup, the entry trigger, the invalidation level, the position size, the exit rules and the limits that stop a bad day from becoming a bad month.
A plan is not a forecast. It does not say where price will go. It says what you will do in each case, including the case where you are wrong. A good plan can produce losing trades every week; a trade taken outside the plan is a problem even when it makes money, because it teaches you nothing you can repeat.
Regulators repeat the same warning in different words. The SEC's investor education site Investor.gov describes day trading as extremely risky, with the potential for substantial losses in a very short time, and the CFTC has published a customer advisory on the risks of virtual currency trading. A written plan does not remove those risks; it makes sure you have decided how much of them to accept.
Part 1: What you trade and on which time frame
Start narrow. List the markets you will trade (for example two or three of the most liquid coin pairs), the venue, and whether you use spot or derivatives. Liquidity matters because thin markets have wider spreads and more slippage, both of which change your real risk.
Then pick a main time frame for decisions and, if you like, one higher time frame for context. A plan that reads the 4-hour chart for setups and the daily chart for trend direction is easier to follow than one that switches between six time frames depending on mood.
Finally, write down when you trade. Crypto never closes, so a plan that says "I only look for entries between these hours and never in the 30 minutes around major scheduled data" protects you from impulsive trades at 3 a.m.
Part 2: The setup and the entry trigger, written as checks
Describe each setup in a way someone else could check from a chart. "Trend pullback" is too vague. "Daily chart making higher highs and higher lows, price pulls back to a prior resistance zone that has turned into support, and a 4-hour candle closes back above the zone on above-average volume" can be checked.
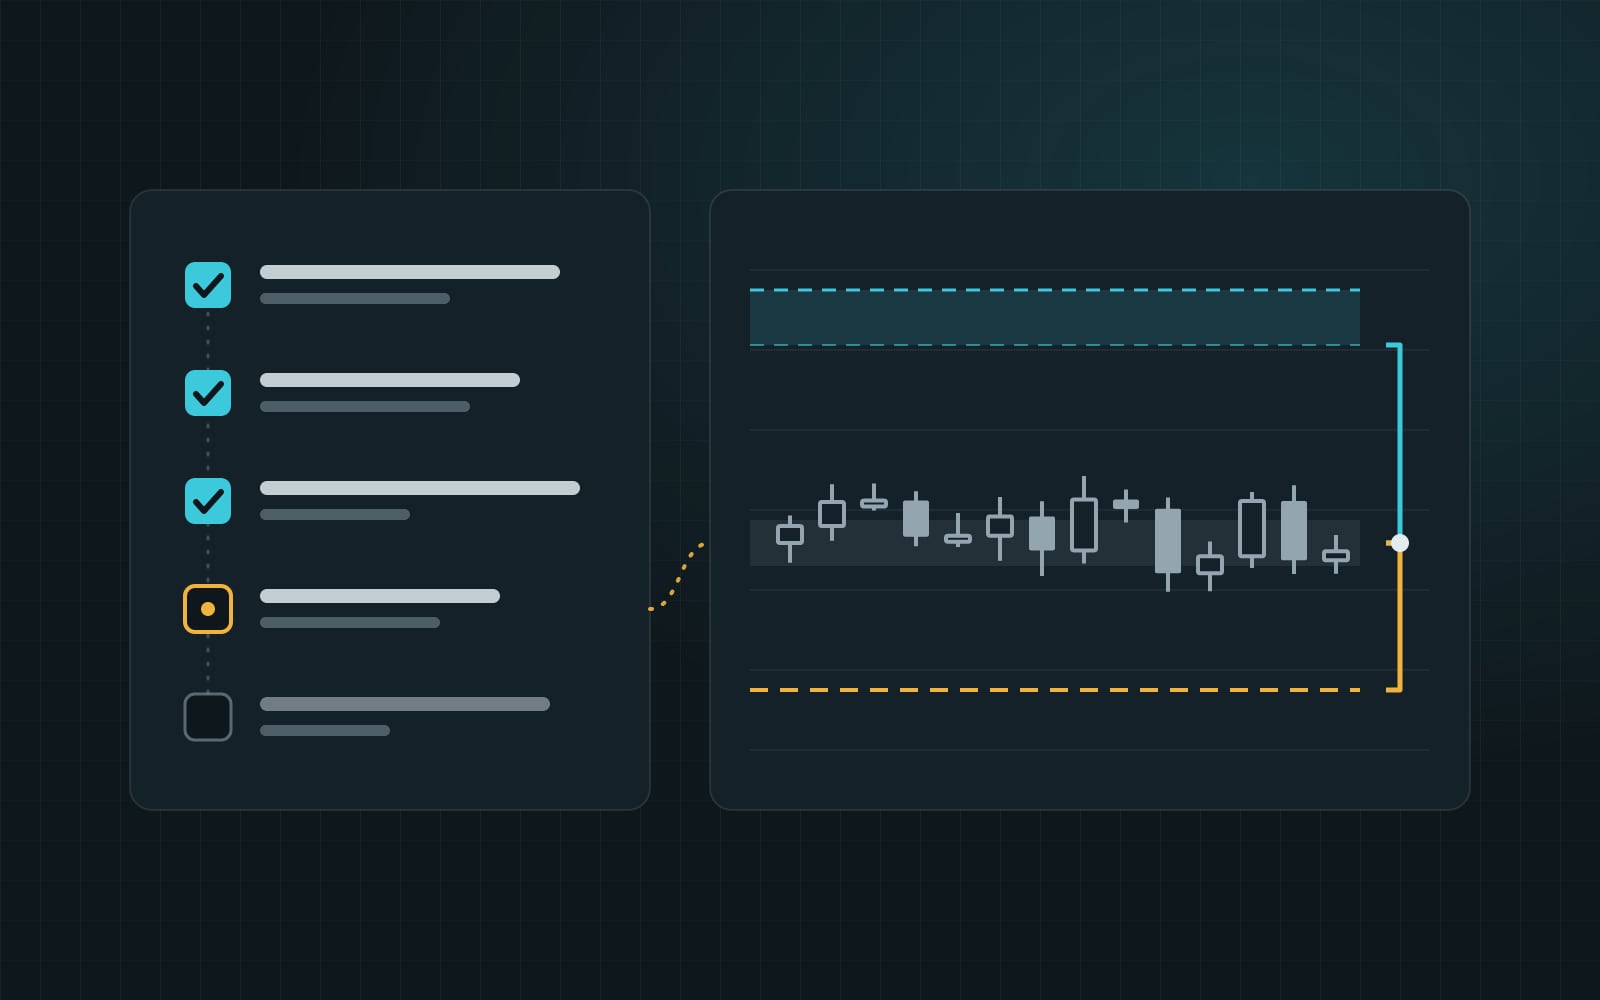
Separate the setup (the conditions that make a trade worth watching) from the trigger (the exact event that makes you enter). Many traders find it useful to keep each setup to three to five yes-or-no checks. If any check is a no, there is no trade.
If you use indicators, say how. For example, an RSI reading can be a filter (only look for long setups while the daily RSI is above 50) rather than a trigger. The guide to RSI without the myths and reading volume with price show how to turn both into concrete rules.
Part 3: Invalidation and the stop-loss
Every plan needs an answer to "what would prove this idea wrong?" The stop-loss goes there, not at a round number of dollars you are comfortable losing. For a pullback to support, invalidation might be a close back below the support zone. For a breakout, it might be a close back inside the range.
Volatility should shape the distance. A stop placed inside normal noise will be hit often for no reason. One common approach is to place the stop beyond the invalidation level plus a buffer measured in ATR; the ATR stop placement guide works through it.
Know how your stop executes. Investor.gov explains that a stop order becomes a market order once the stop price is reached, so the fill can be worse than the stop price in a fast market. Gaps, thin order books and sudden liquidation cascades in crypto can all produce that kind of slippage.
Part 4: Risk per trade and position size
Only after the stop is set do you calculate size. Decide the most you will lose if the stop is hit, usually as a fixed percentage of the account, and divide it by the distance from entry to stop. The 1% rule guide covers the formula in depth. Here is a full illustrative example.
- Account: 5,000 USDT. Risk per trade: 1%, so 50 USDT at risk.
- Plan: buy ETH at 2,500 with the stop at 2,425, a distance of 75 (3% below entry).
- Position size: 50 ÷ 75 = 0.6667 ETH, worth about 1,666.67 USDT, one third of the account. No leverage is needed.
- Fees (illustrative 0.1% taker fee on each side): about 1.67 USDT to enter and 1.62 USDT to exit at the stop, so a full stop-out costs about 53.28 USDT, or 1.07% of the account.
The fee line is easy to forget and adds up over hundreds of trades. Some traders include expected fees and slippage in the risk amount, so that the all-in loss at the stop stays at their chosen percentage.
If the calculation produces a position larger than you can hold without borrowing, the plan should say what happens next: take a smaller position than the formula allows, skip the trade, or use leverage within a stated cap. Leverage does not change the loss at the stop if the size is right, but it brings the liquidation price closer, so the stop must sit well before it.
Part 5: Targets, exits and risk-reward
Write down how you get out when you are right. Options include a fixed target, partial exits at levels, a trailing stop or an exit when the original setup no longer holds. Each changes your average win, so pick one per setup and keep it.
In the example, a target at 2,650 is 150 above entry, twice the 75 stop distance, so the planned reward is 2R. Hitting it would earn about 100 USDT before fees, or about 96.57 USDT after the illustrative fees.
Risk-reward only matters together with win rate. Expectancy in R is win rate × average win − loss rate × average loss. A setup that wins 40% of the time with an average win of 2R and an average loss of 1R has an expectancy of 0.4 × 2 − 0.6 × 1 = +0.2R per trade before costs. The same 40% win rate with 1R wins would lose money. The risk-reward and expectancy guide explains how to measure these numbers from your own results rather than assuming them.
Part 6: Limits that protect the account
Single-trade risk is only one layer. A complete plan also caps how much can go wrong at once and in a row.
- Maximum open risk: for example, no more than 3% of the account at risk across all open positions, so three correlated trades cannot become one large loss.
- Daily or weekly loss limit: for example, stop trading for the day after −3R. In the example account that is about 150 USDT.
- Leverage cap: the maximum leverage you will use, if any, and the rule that the stop must trigger well before the liquidation price.
- News rule: whether you hold positions through scheduled events such as CPI releases or central bank decisions.
Losing streaks happen even with a positive expectancy. Ten losses in a row at 1% of the current balance take a 5,000 USDT account to about 4,522 USDT, a drawdown of under 10%. At 5% per trade the same streak would cost about 40%. The limits exist so that a normal streak stays survivable.
Part 7: Journal and review
A plan without records cannot be improved. For every trade, log the setup name, the checks, entry, stop, size, exit, result in R, fees and a screenshot, plus one line on whether you followed the plan. The trade journal guide has a template.
Review on a schedule, not after every loss. A weekly review looks for rule breaks; a monthly review looks at results by setup once there are enough trades to mean something. Change one rule at a time and note the date, so you can tell which change did what.
A one-page template
Copy this into a note and fill in your own answers. If a line is blank, the plan is not finished.
- Markets and venue: which pairs, spot or derivatives, which exchange.
- Time frames and hours: decision time frame, context time frame, trading hours, news rule.
- Setups: name, three to five yes-or-no checks, entry trigger.
- Invalidation: where the idea is wrong and how the stop is placed (including any ATR buffer).
- Risk: percentage per trade, how fees and slippage are handled, position size formula.
- Exits: target rule, partial exits, trailing rule, time-based exit.
- Limits: maximum open risk, daily and weekly loss limits, leverage cap.
- Review: what is logged for every trade, when the weekly and monthly reviews happen.
Common mistakes
- Sizing first, stopping second. Choosing the size you want and then squeezing the stop to fit it turns the stop into a guess.
- Rules that cannot be checked. "Strong trend" or "good volume" means something different every day unless you define it.
- Moving the stop away from the entry once the trade is open. That changes the risk you agreed to.
- Ignoring costs. Fees, spreads and funding on perpetual futures all reduce expectancy.
- Changing the plan after every loss. A few losses say little; judge a setup on a large sample.
- No stop on the bad day. Without a daily limit, one emotional session can undo weeks of disciplined trading.
Sources and further reading
- Investor.gov (U.S. SEC): Day trading
- Investor.gov (U.S. SEC): Stop order
- CFTC: Customer Advisory, Understand the Risks of Virtual Currency Trading
- Van K. Tharp, Trade Your Way to Financial Freedom (on R-multiples and expectancy)
Sources
For education only, not financial advice. Trading with leverage or futures can lose more than your margin. All examples are illustrative.
Get the next guide in your inbox
One practical email a week. Free, unsubscribe anytime.
Or follow Tradevo on TelegramMarket now
Latest news